When the name servers point to Sitewig, all email for your domain is delivered to us. If an address does not exist at Sitewig, the email may be rejected. That is why you create all your addresses before you switch. Step 2 Mailboxes in the moving guide makes this quick, even when you have many.
Before you start
- The domain's email must be set to Sitewig. If you see Email for this domain isn't received at Sitewig, tap Open the domain, and set the domain's email to Sitewig in the domain settings.
- Find the list at the old provider. Look at their overview of email accounts, or use an export (CSV). You can also simply type the addresses.
- Check your plan. At the top of the step it says, for example, You're using 1 of 3 mailboxes in your plan. Starter gives 3 mailboxes, Pro 10, Business 25 and Max an unlimited number.
Create the mailboxes
Step 1: Paste the list
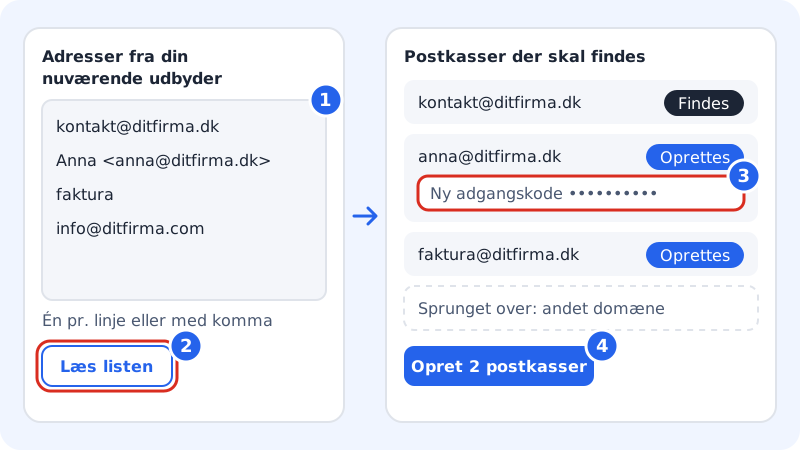
Paste your addresses into the field Addresses from your current provider. Enter one per line or separated by commas. These forms all work:
contact@yourcompany.comAnna Jensen <anna@yourcompany.com>: the name is used as the sender nameinvoices– just the part before the @, which then gets your domain added
You can also paste a CSV export directly. There can be at most 500 addresses.
Step 2: Tap Read the list
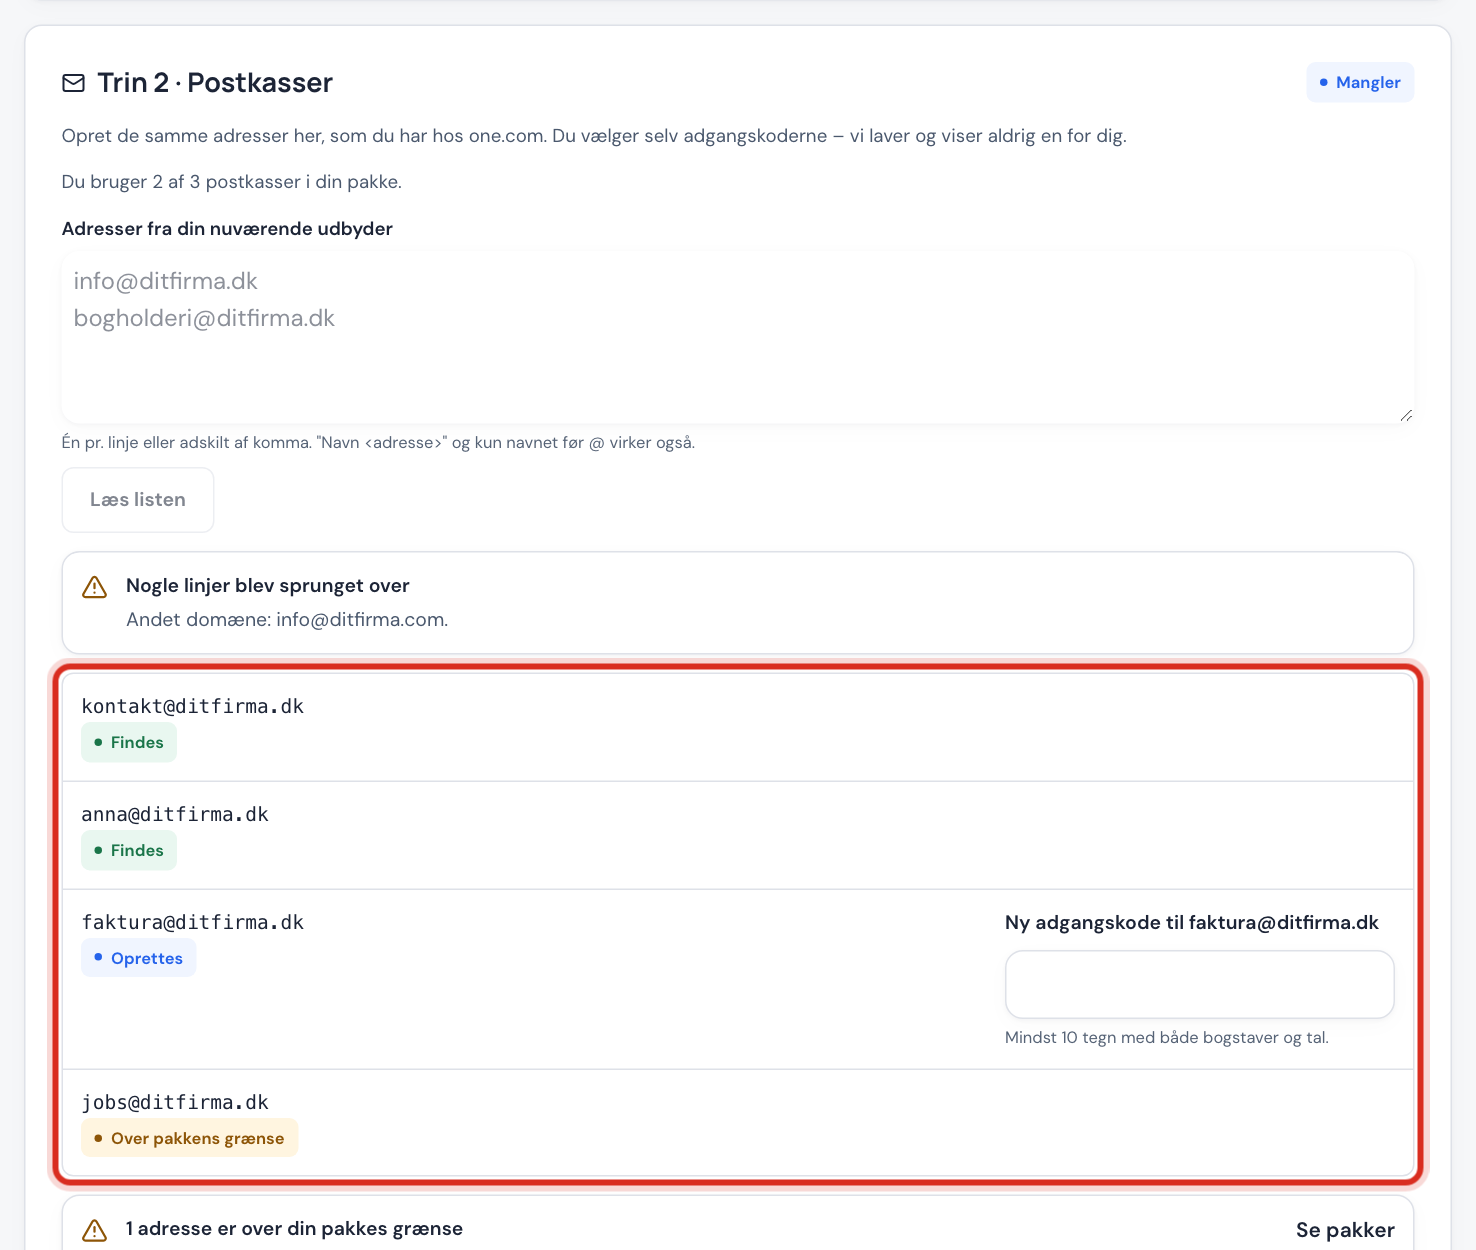
Tap Read the list. The addresses are shown under Mailboxes needed with a status:
- Exists: the mailbox is already there.
- Will be created: it will be created now.
- Over plan limit: there is no room in your plan.
If it says Some lines were skipped, some lines were not email addresses or belonged to another domain. Fix them, and read the list again.
Step 3: Choose a password for each mailbox
Enter a new password in New password for … next to each mailbox that is to be created. It must be at least 10 characters with both letters and numbers. You choose it yourself. Sitewig never creates or shows a password for you.
Step 4: Tap Create
Tap Create 2 mailboxes (the number matches your list). Afterwards all rows say Exists, and step 2 is ready.
If you are over your plan's limit
If you see … addresses are over your plan's limit, you have two options:
- Upgrade your plan. Tap See plans. Pro gives 10 mailboxes, Business 25 and Max an unlimited number. If you only have an email plan, Mail Unlimited has an unlimited number of mailboxes.
- Make the addresses aliases. An alias is an extra address that lands in an existing mailbox, for example
invoices@yourcompany.com→contact@yourcompany.com. See Email aliases.
Frequently asked questions
Do I have to create aliases and forwarding again?
Yes. The guide only creates mailboxes. Aliases and forwarding that you have with the old provider, you create under Email in the control panel.
Can I create the mailboxes without the guide?
Yes, under Email → Mailboxes. See Create many email accounts at once.
Will my old email be moved now?
No. The mailboxes are empty until you start the import in step 3. See Import your old emails.