You set up both for each mailbox in the same panel, Settings for the address. The spam filter is also there.
Open the settings for the mailbox
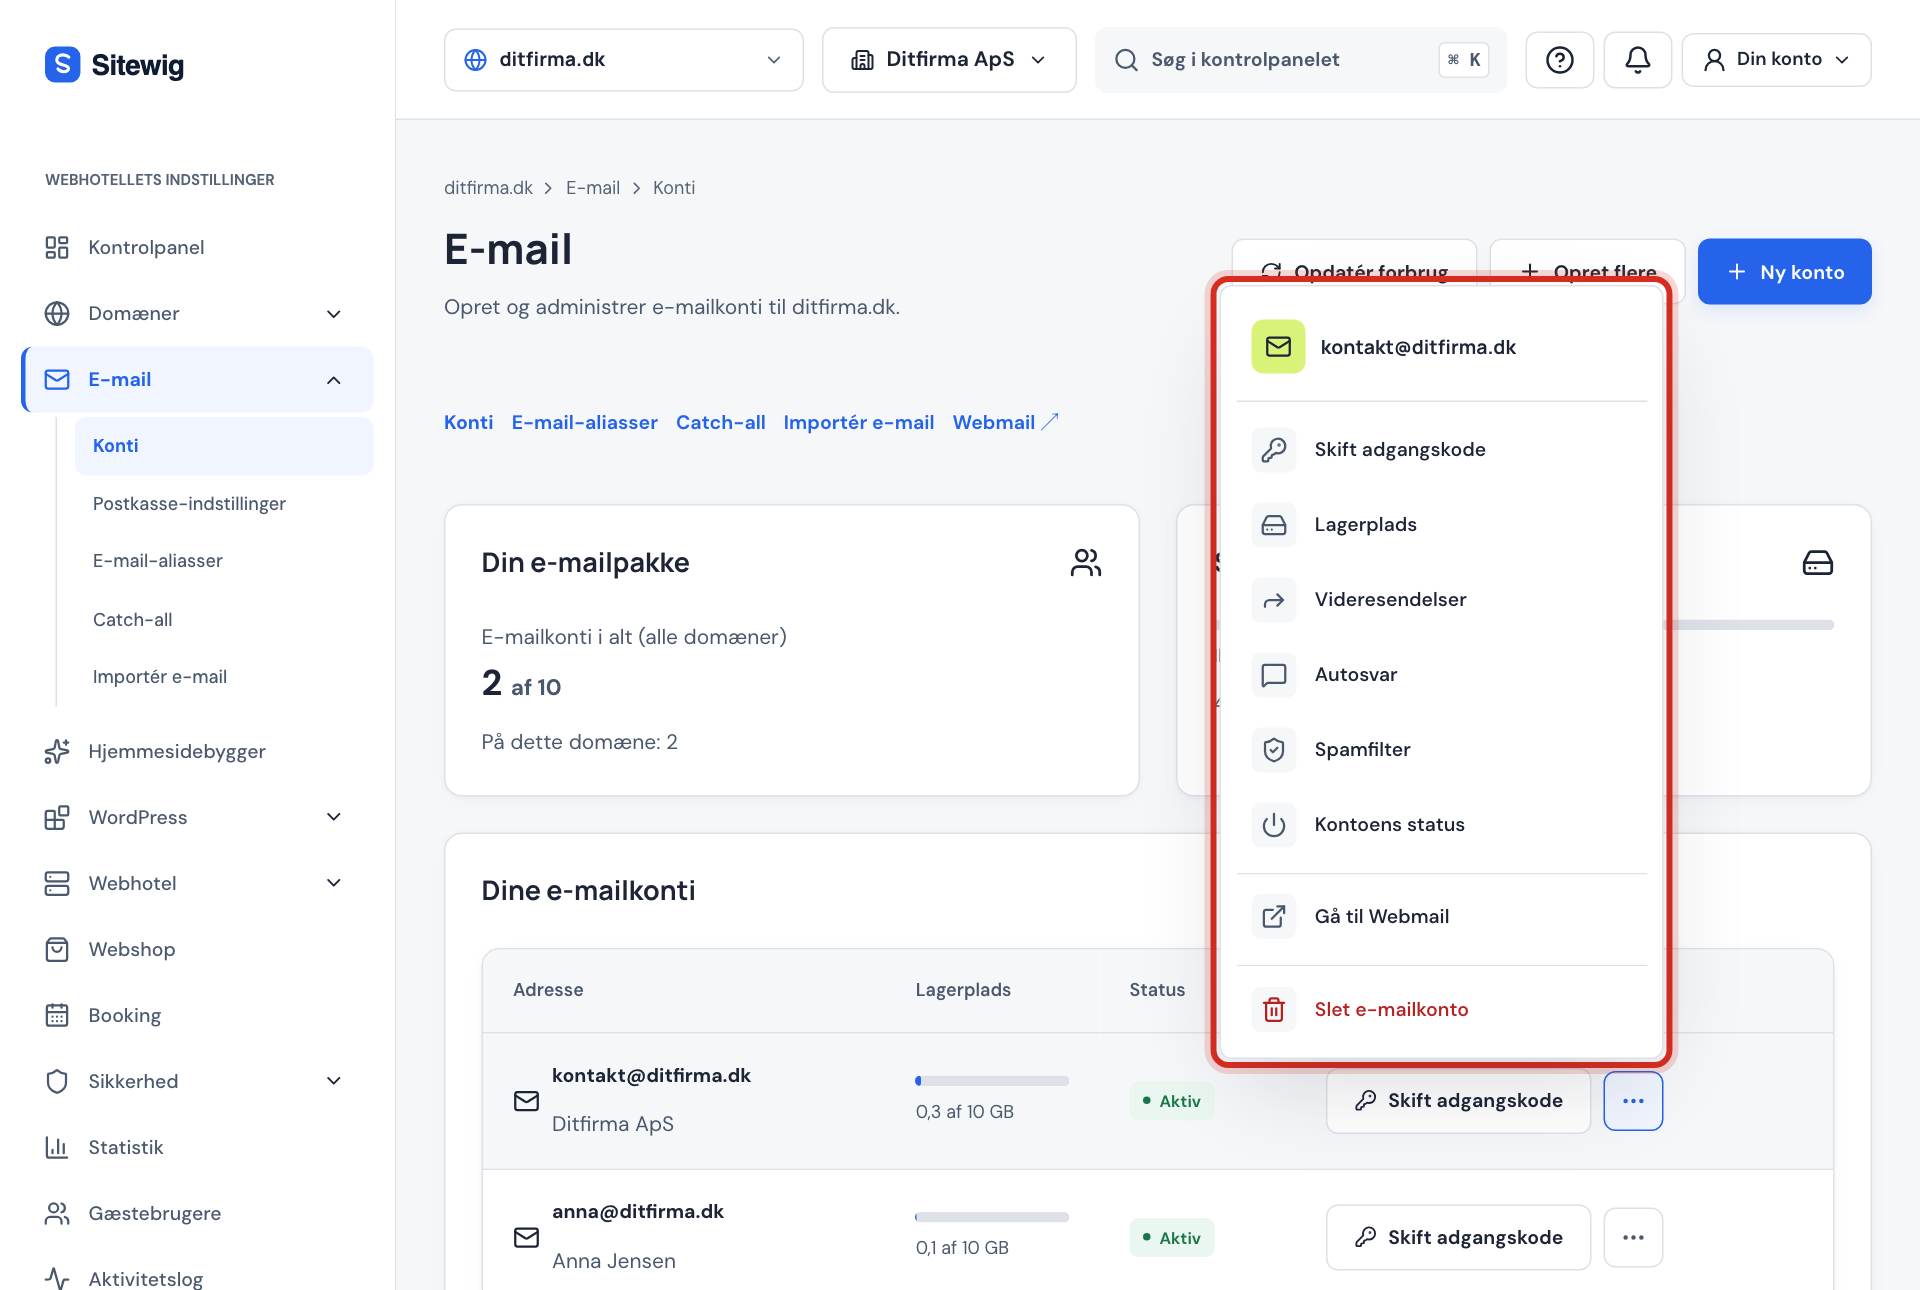
Go to Email → Mailboxes, click the three dots next to the address and choose Forwarding or Auto-reply. Both options open the same panel on the right-hand side.
Forward email
Step 1: Enter the recipient
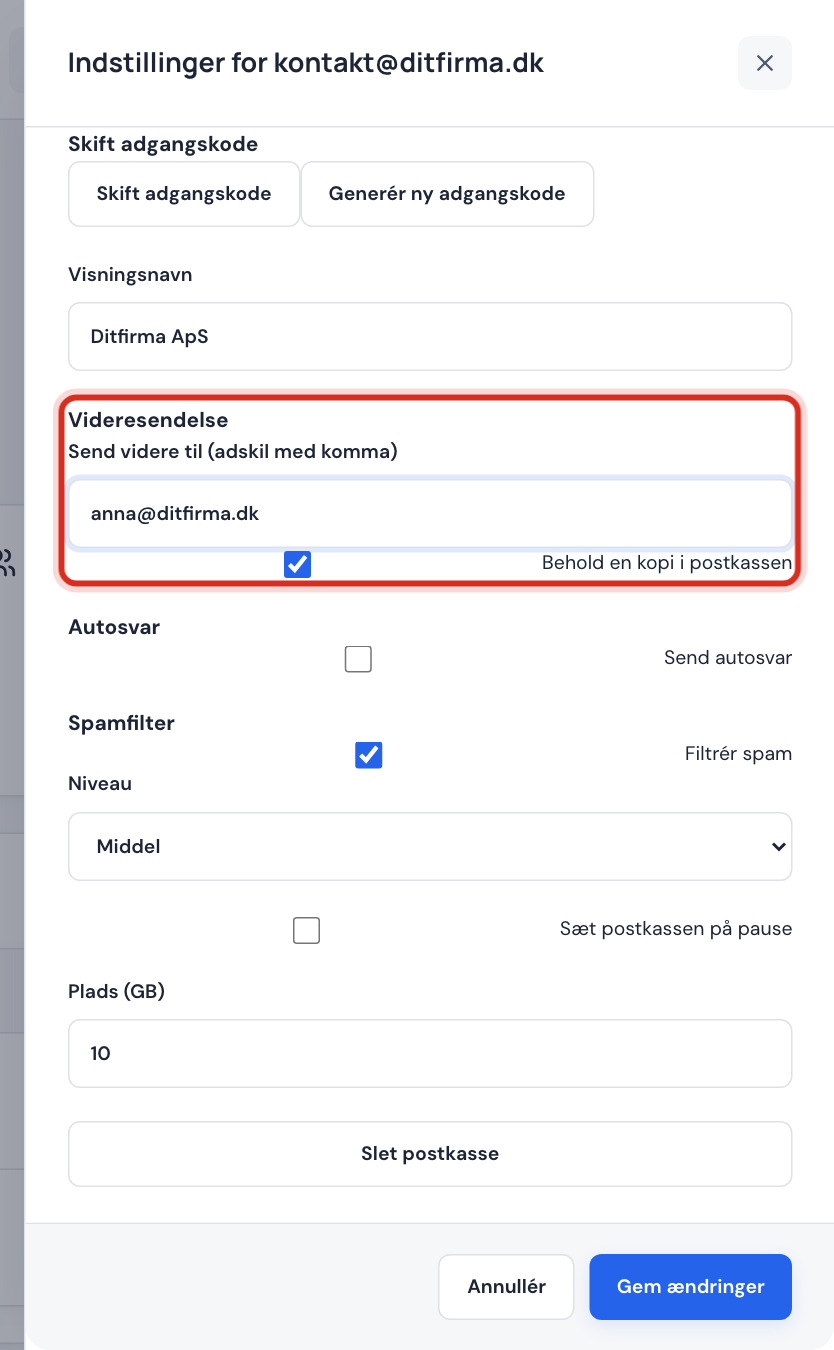
Under Forwarding, enter the address in Forward to (comma separated). You can enter up to 20 addresses separated by commas.
Step 2: Choose whether to keep a copy
Keep a copy in the mailbox is switched on by default. The email is then in both the mailbox and with the recipient. If you switch it off, the email is not stored at Sitewig.
Step 3: Save
Click Save changes at the bottom of the panel. You see the message Saved.
Step 4: Confirm external recipients
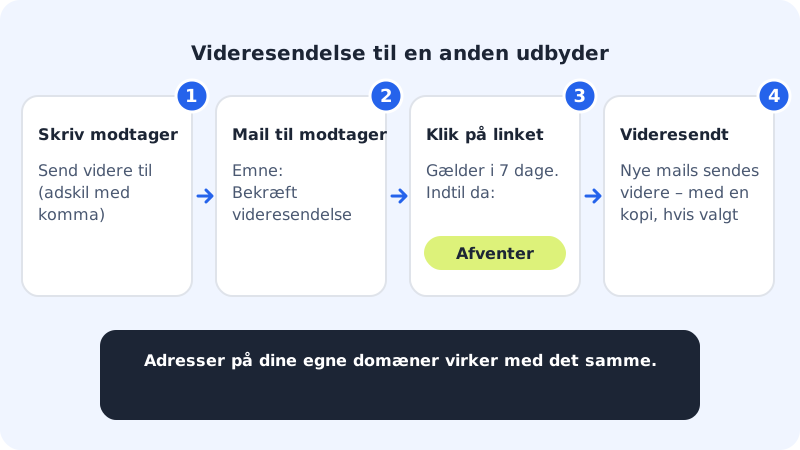
If the recipient is on one of your own domains, forwarding works immediately. If it is an address at another provider, the recipient gets an email with the subject Confirm forwarding from …. The recipient must click the link within 7 days. Until then, Awaiting confirmation is shown next to Forwarding, and nothing is forwarded.
Set an auto-reply
Step 1: Switch on auto-reply
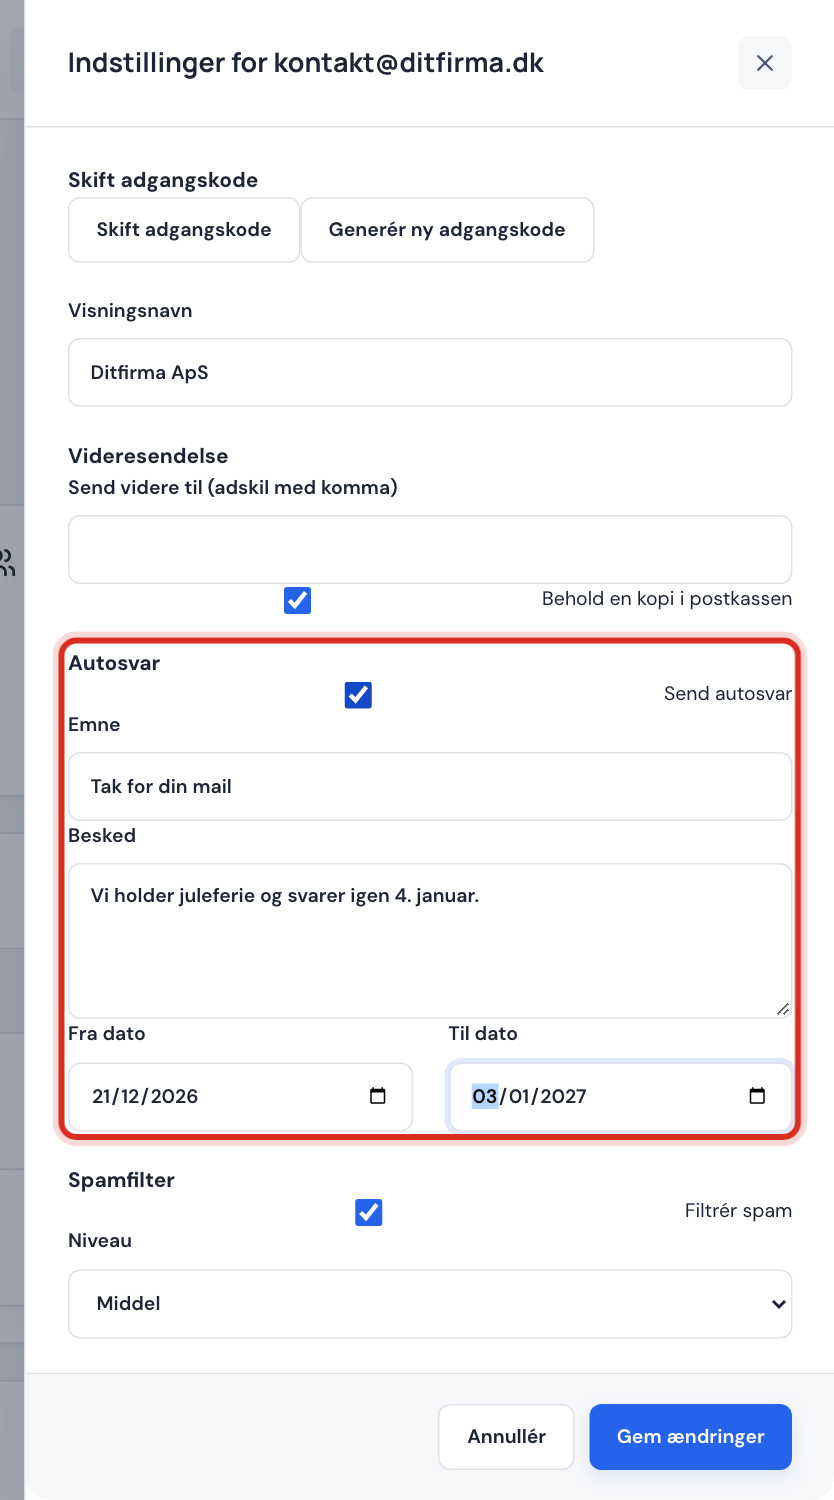
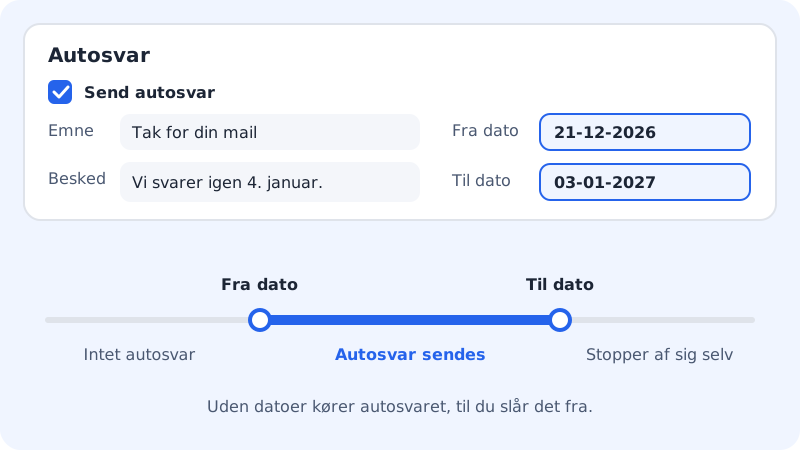
Tick Send auto-reply under Auto-reply.
Step 2: Enter a subject and message
Enter a Subject, e.g. Thank you for your email, and the Message itself, e.g. when you will be back and who to contact in the meantime. The message must be filled in.
Step 3: Choose a period
Choose From date and To date. The auto-reply then starts and stops by itself. If you leave the dates empty, it runs until you untick the box.
Step 4: Save
Click Save changes.
Spam filter
In the same panel, under Spam filter, you can switch Filter spam on or off and choose the Level: Low, Medium or High. Medium is the default. Choose High if a lot of spam gets through, and Low if genuine emails end up as spam.
Frequently asked questions
Can I forward to my Gmail?
Yes. Enter the Gmail address in Forward to, save, and click the link in the confirmation email that the Gmail account receives.
Can a mailbox forward to itself?
No, that is rejected to avoid an endless loop.
How do I stop forwarding?
Delete the address in Forward to and click Save changes.
Can I use an alias instead?
Yes, if you want an extra address for the same inbox. See Email aliases.