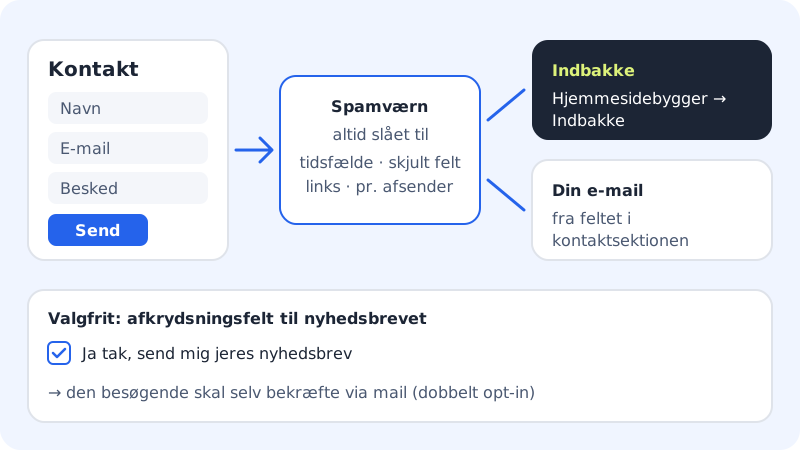
A contact form makes it easy for visitors to write to you, even outside opening hours. In Sitewig's website builder, each contact section is its own form. Messages land in an inbox in the control panel and are also sent to your email.
How messages reach you
Make a form
Step 1: Add a contact section
In the editor, go to the Sections tab and press Add section. Choose Contact. The section has contact details, a form and a map.
Step 2: Turn on the form and enter your email
Select the section, and make sure Show contact form is turned on. Fill in the Email field with your address, e.g.
contact@yourcompany.com. It's used as the recipient, so you also get the messages by email.Step 3: Customise the fields
Select the section and find Form fields. Press Customise fields to choose your own fields. The standard form has name, email, phone and message.
Step 4: Name the form and add fields
Enter a Form name, e.g. Quote or Job application – the name is shown in the inbox. Press Add field, choose the Field type, enter a Label, and tick Required if the field must be filled in.
Step 5: Customise the button and thank-you message
Fill in Button text and Thank-you message after sending.
Step 6: Publish
Press Publish. Try the form yourself on the published page.
Field types and limits
| Free | Starter | Pro and above | |
|---|---|---|---|
| Forms per website | 1 | Unlimited | Unlimited |
| Messages per month | 50 | Unlimited | Unlimited |
| Messages kept in the inbox | 30 days | 365 days | Unlimited |
| File field type (file upload) | - | - | ✓ |
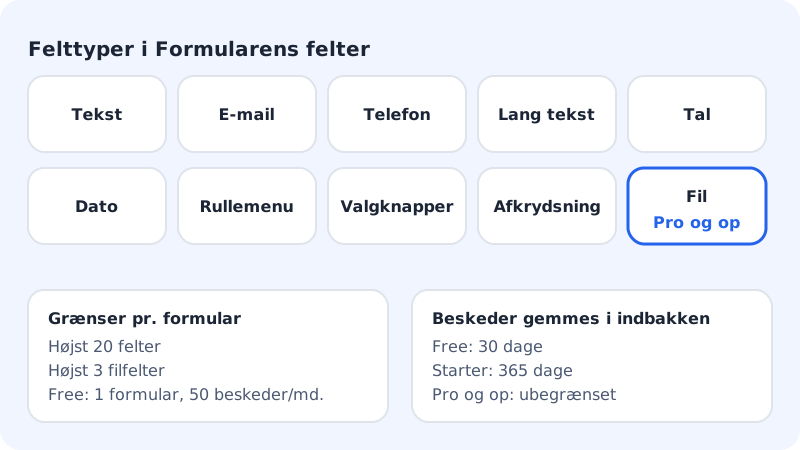
Each form can have at most 20 fields and at most 3 file fields. Uploaded files are stored privately and can only be downloaded from the inbox.
Read the messages in the inbox
- Choose Website builder in the control panel.
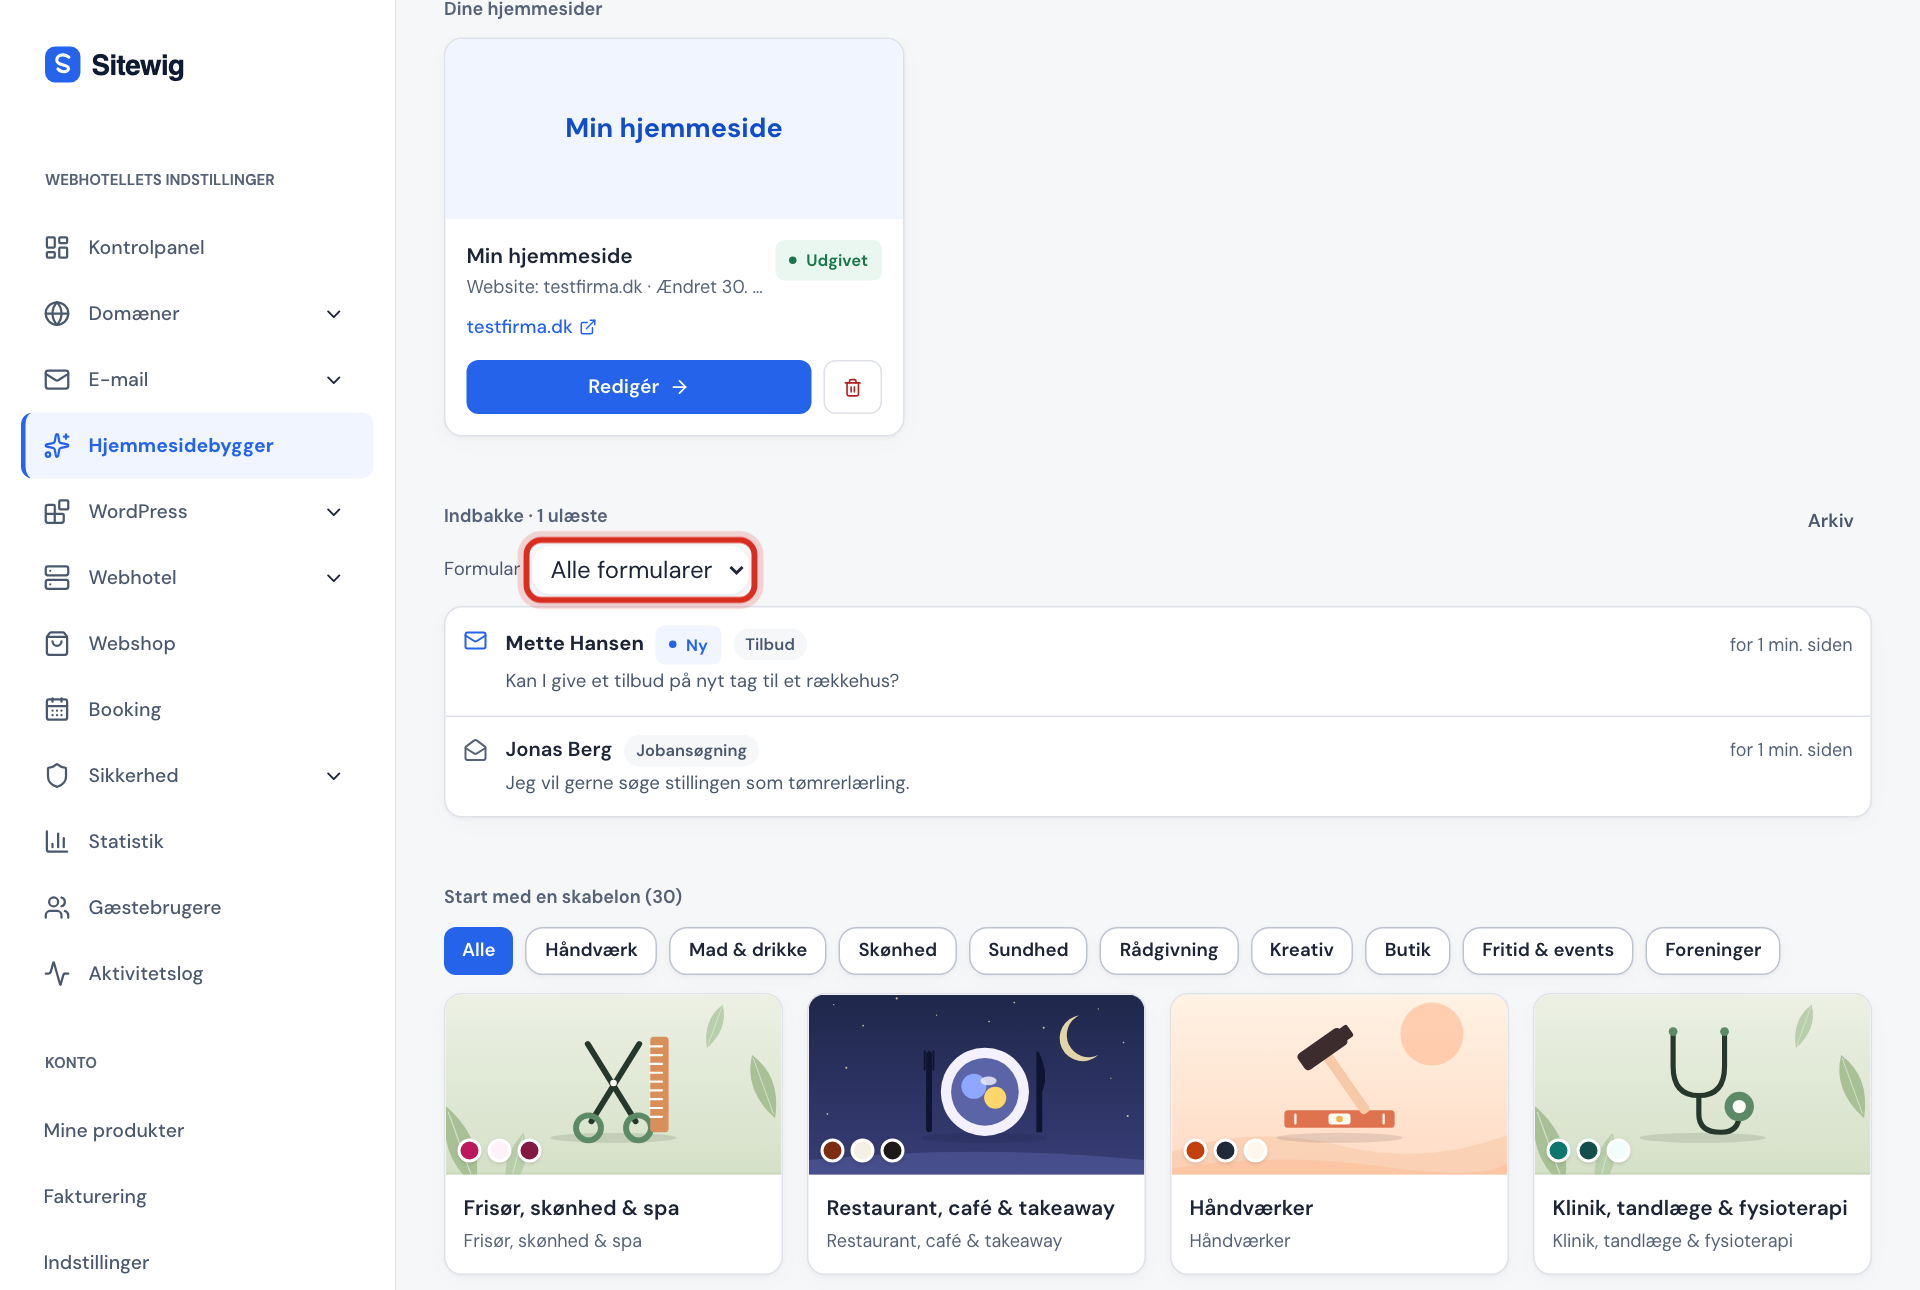
- Below the list of your websites you'll find Inbox. New messages are marked New.
- If you have several forms, you can choose a specific one in the All forms menu.
- For each message you can press Reply to sender, Mark as read, Archive or Delete. Download attached files with Download.
- Press Archive to see archived messages.
Spam
Spam protection is always on: a hidden field, a time trap, a limit on the number of links and limits per sender. You don't need to do anything yourself.
Frequently asked questions
I'm not getting the messages by email?
Check that the Email field in the contact section is filled in. If the message in the inbox says No recipient, the address is missing. If it says the email couldn't be sent, the message is only in the inbox.
What happens when the Free plan's 50 messages are used up?
The form isn't closed. You'll get an email when the limit is reached. With a paid plan there is no limit.
Can I have different forms on different pages?
Yes. Each contact section is its own form with its own name, and in the inbox you can see which form and page the message came from.